
FINALLY... i get to post about the purse I made. It is my own design and pattern so I am pretty proud about pulling this off. Here is my step by step:
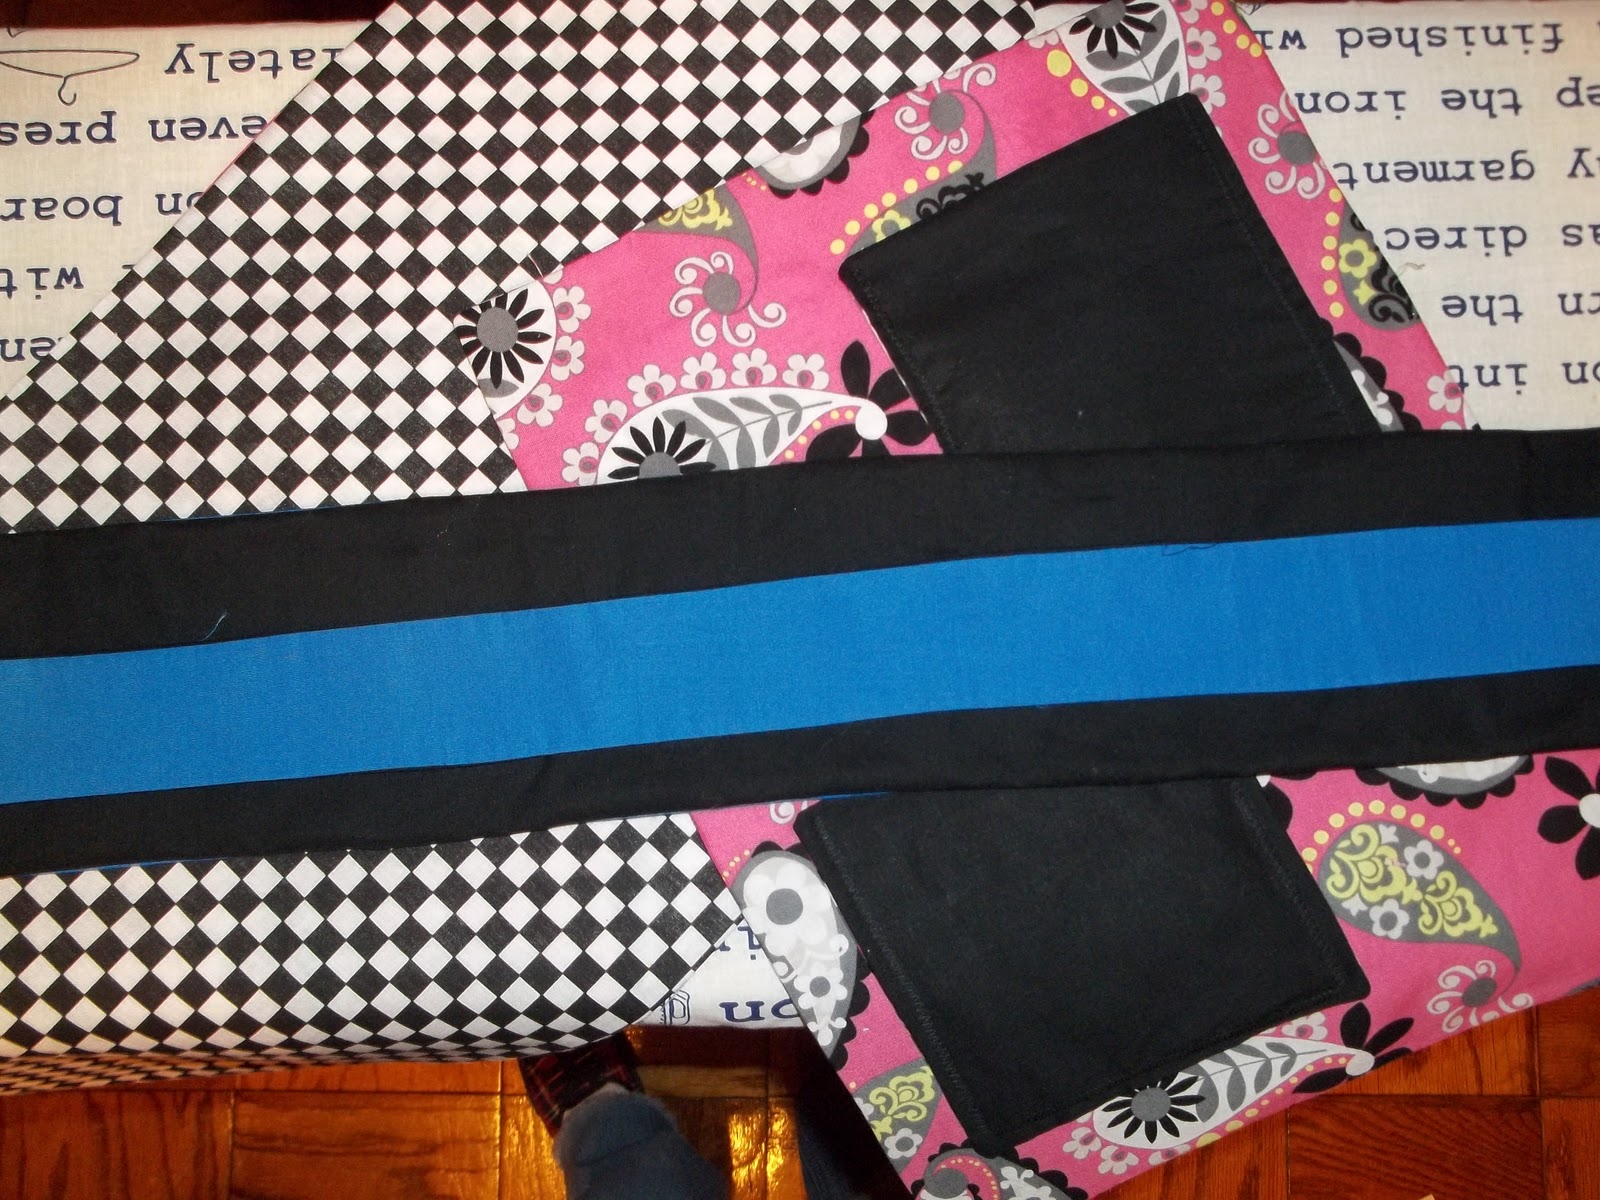
I cut all the pieces out for each side of the purse

I fused the pieces to light interfacing.

I sewed all 4 of the pockets, right sides together. Leave 2" to flip right sides out.

When you first flip they look very poofy.

To push out the corners you can buy a fancy tool or you can use a wire hanger... push gentle enough that you dont bust open a seam but firm enough that your corners are straight and not rounded.

Next I sewed the shoulder strap, right sides together.Time to flip the strap... This can be tricky but once you got it down you are good. Again, you can buy a fancy tool or you can modify a wire hanger.

Push the wire hanger through the strap and hook it over one side.

It takes some maneuvering and getting used to but before you know it, it's flipped.

Time to sew the piece that will become the width of the purse. Pin in place.

You will need to have the handle in place in between the pieces for the width. You will notice that the handle is much shorter than the width so you will only be able to match up 1 side at a time.

You will sew the edge that is matched up with the strap and one full side length and the other side length about 3/4. The you will need to pull the strap to the top of the unsewn side, which will scrunch the sewn side up.

Match up to the edge to pin in place.

Sew the rest of the width, leaving 3" to flip right sides out.

Flip the width right sides out. It's easy if you pull the strap through.

Next I pinned the pockets in place on the right sides of the front panels.

Sew the 3 sides of each pocket. Using a hand needle thread the loose end to the backside of the panel.

Tie the loose ends together on the back side of the panel.

Now your front panels should look like this:

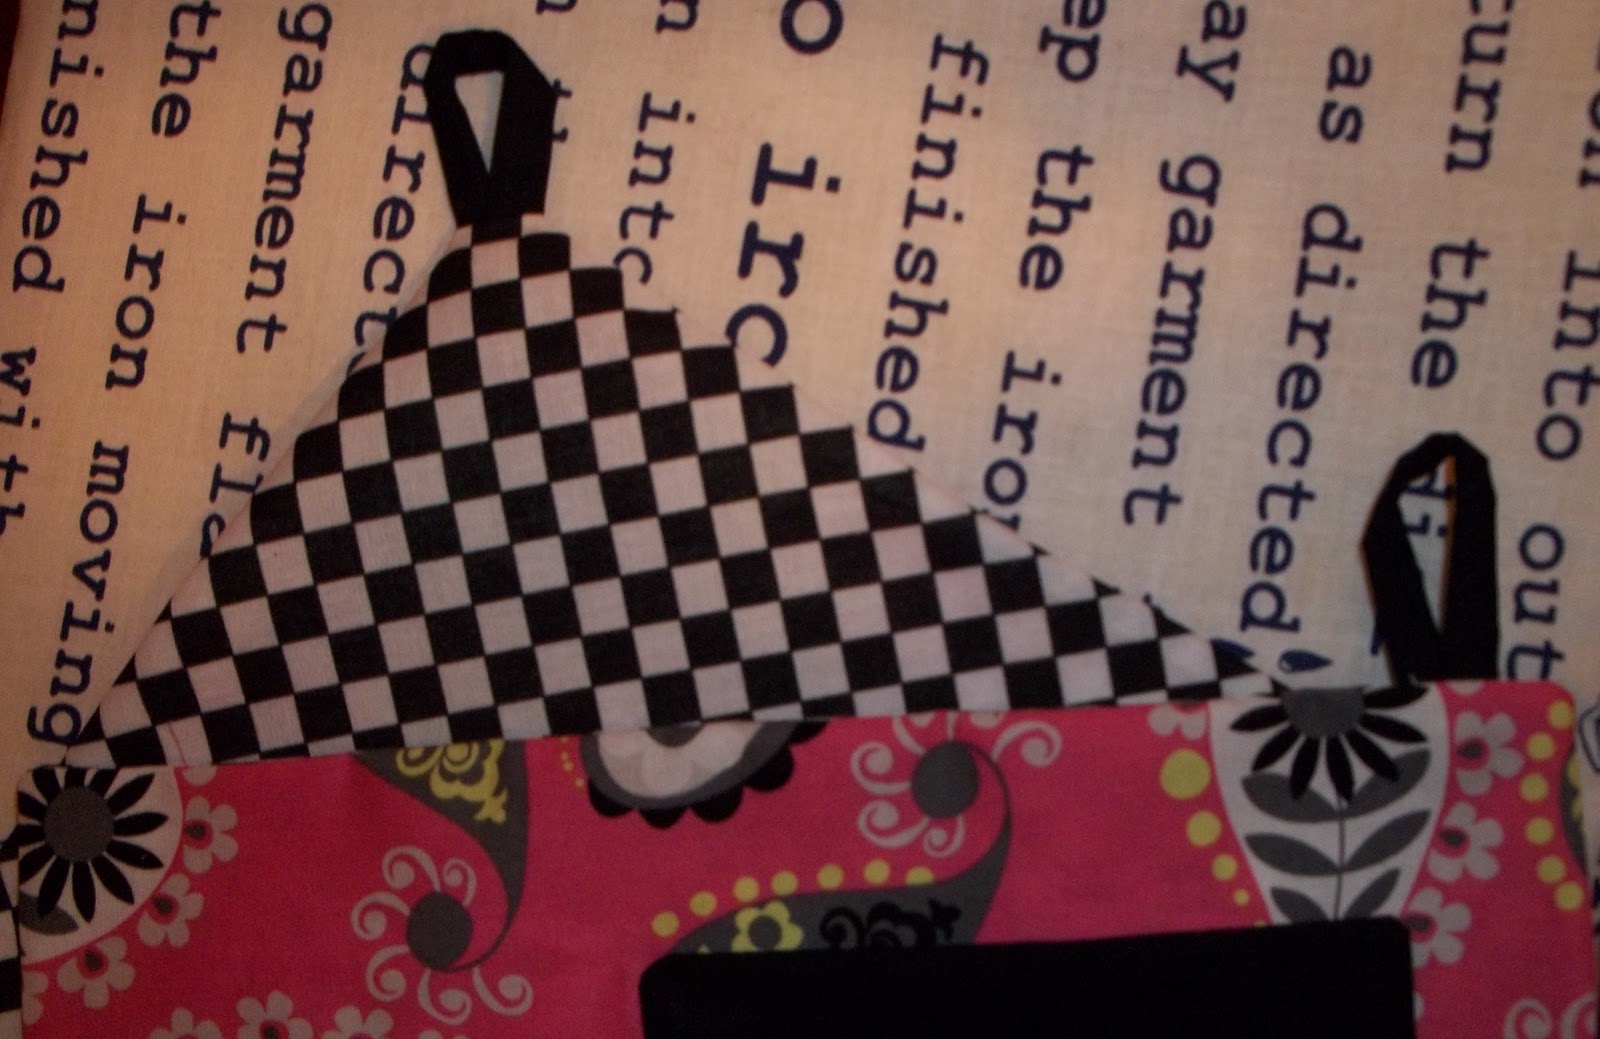
Next I pinned the front panels together. For the key-fob connection I used a fabric loop. You can also use a ribbon.

Pin the loop in place towards the side of the panel, at least 1" or more away from the edge.


You will do the same when pinning the back/flap panel together, pinning a fabric loop to the bottom center of the flap for the botton.

Sew and flip both panels. You should then have the 3 main pieces of the purse.
Your fabric loops should look like this.
Pin one panel to the middle piece.

Sew in place and then repeat with the other panel.

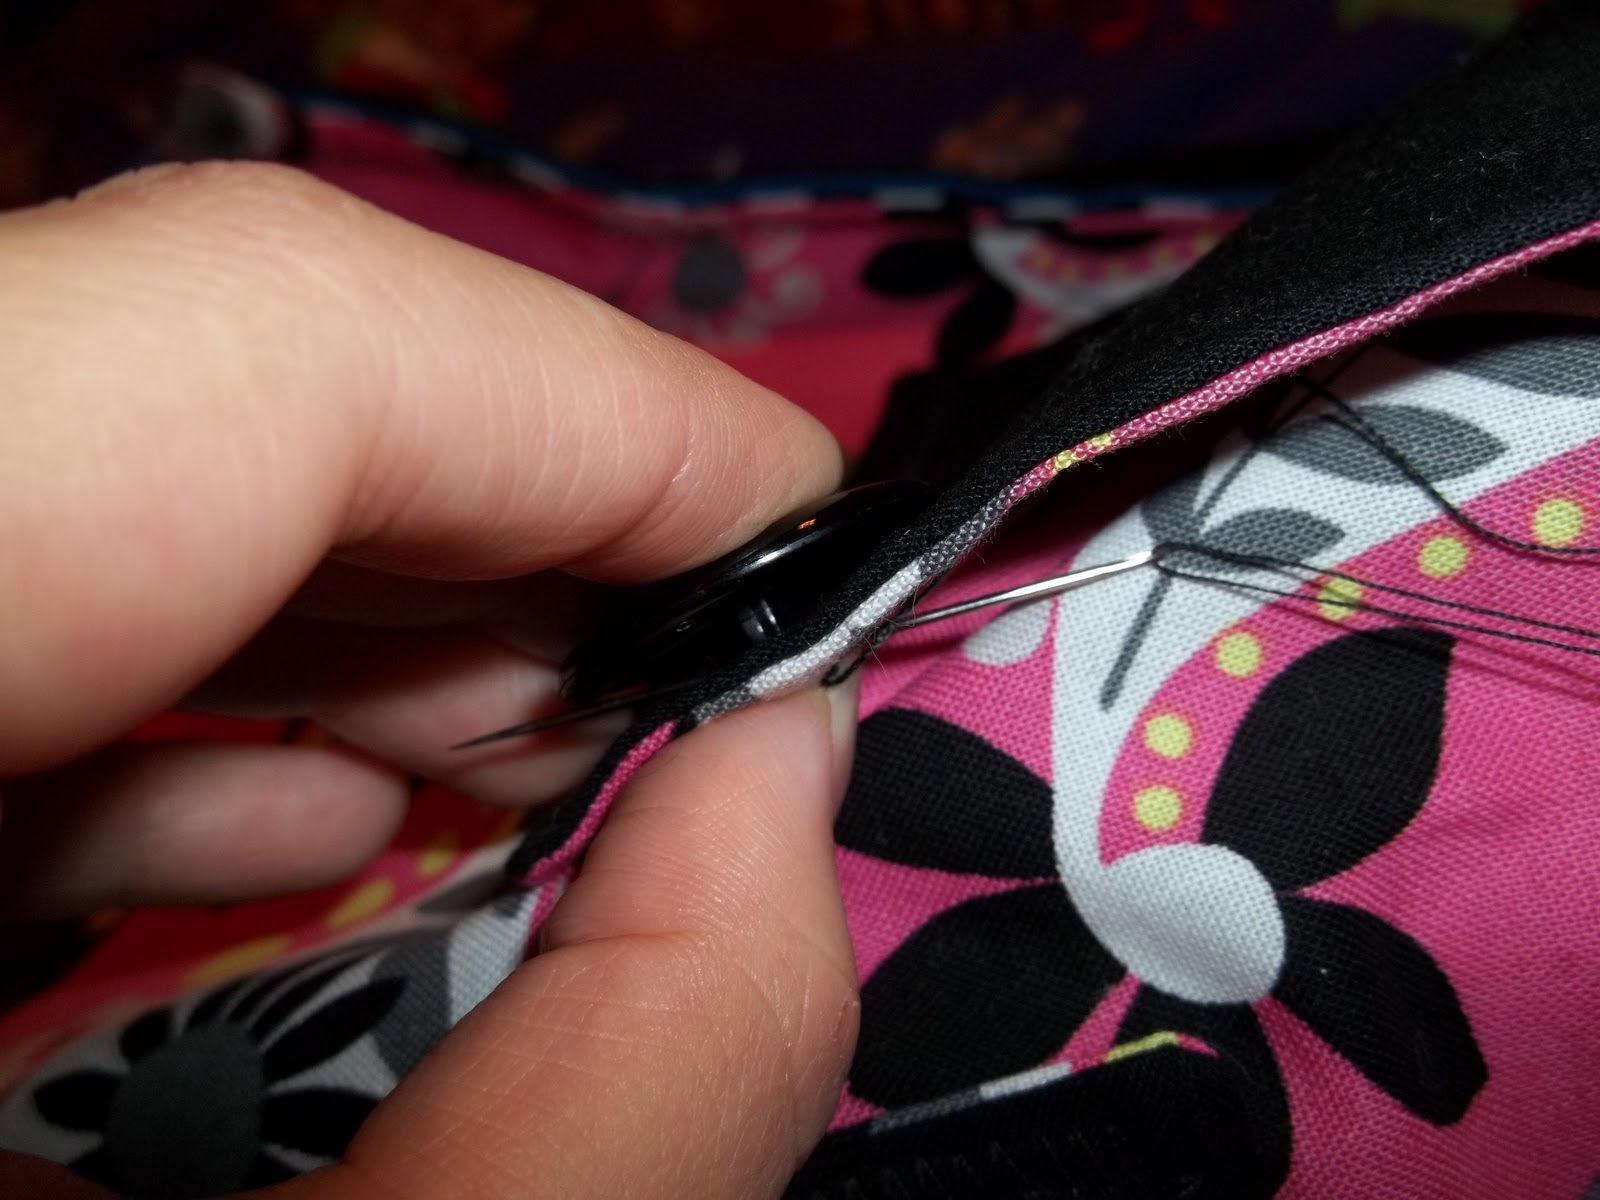
Now it's time for the details. Sew your buttons in place on each side.


The finished purse is perfect for notebooks and such.
Here is one view: blue with chekers

and the other side: black with pink paisley

dont forget to connect a key fob or carabiner to keep your keys accesible not matter how much stuff you put in your purse.

Phew... My longest post yet! I seeeeew enjoyed it and hope you did too <3
No comments:
Post a Comment