
here i am with a new tutorial =D
this is the simplest skirt and great for beginners! and the best part is it only takes a piece of fabric and elastic
i must say... i have quickly become the elastic waistband queen haha
well here we go...
first off, i used a fabric remnant so i only need to cut the width (if you use a purchased by the bolt piece, just cut as long as you want your skirt to be, plus your seam allowances for bottom and top hems... i usually do 1 inch for bottom hem and 2 inches for top when using an elastic waistband)

so to determine the width you measure around the widest part of your bottom/hips. i measured 36 so i cut 38 inches to leave for 1/2 inch seam allowance and a smidge extra room to move (i am not aiming for a butt tight pencil skirt)
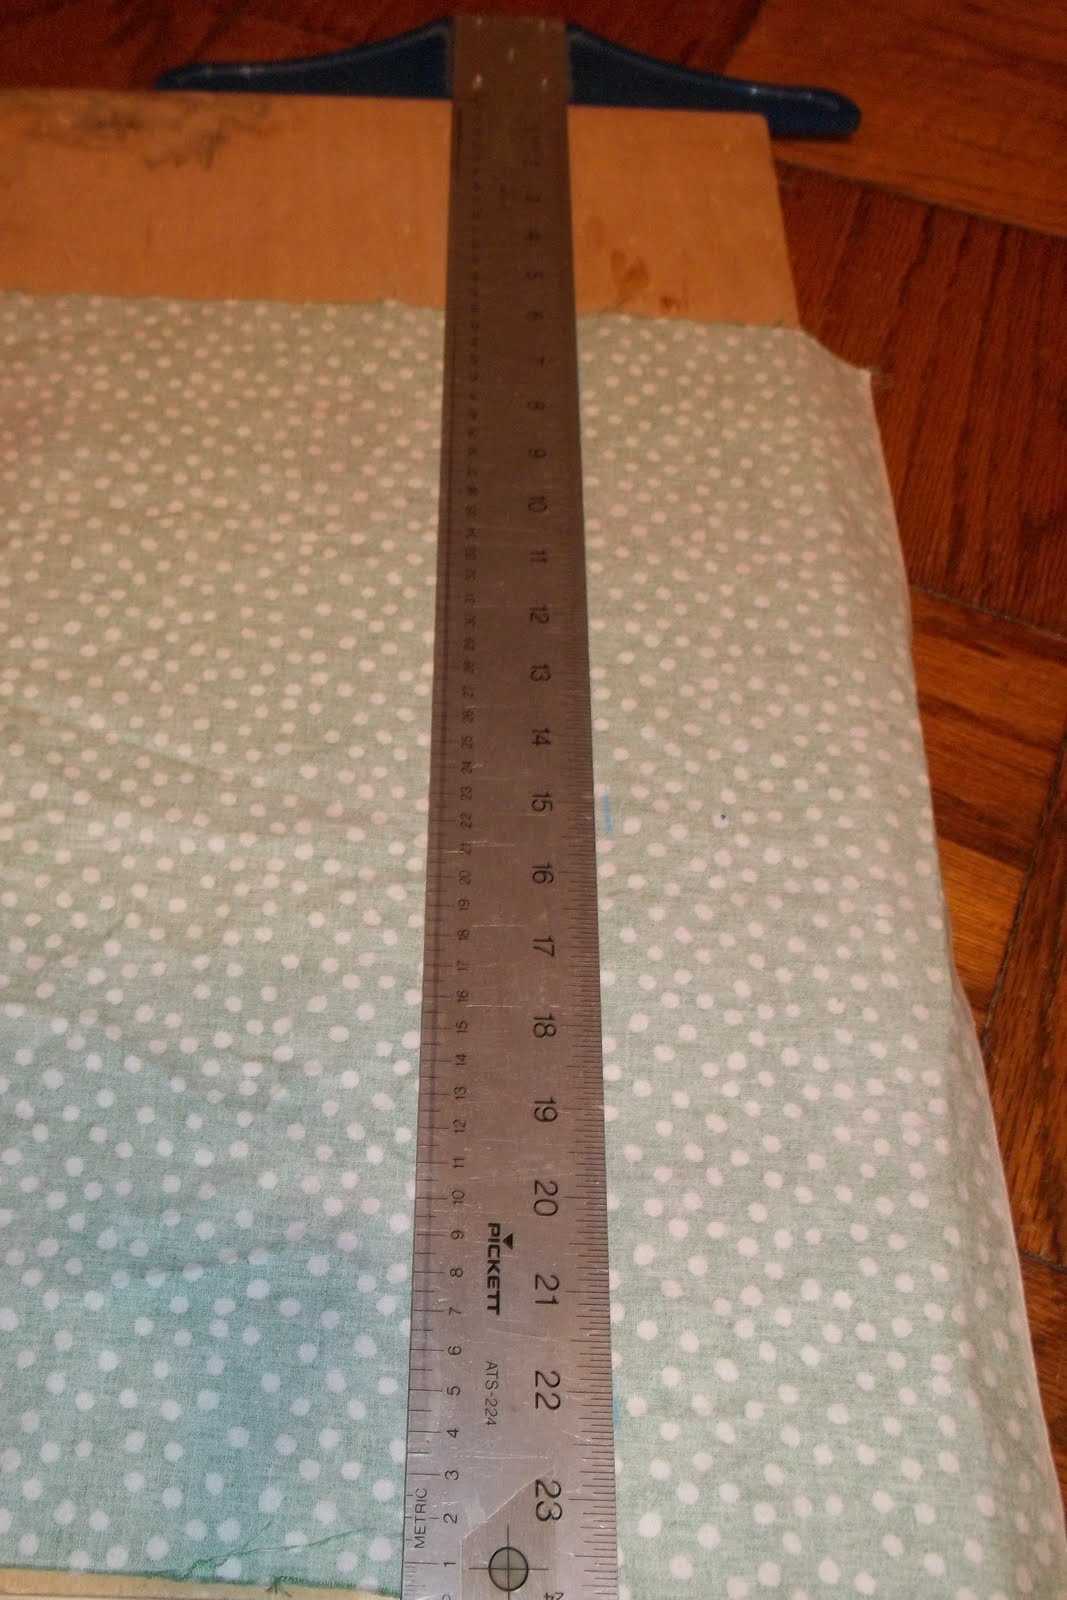
measure at least 3 spots 38 inches from one end and then you can line up your yardstick and mark your straight line to cut the width.

i use my rotary cutter to get the straightest line possible (be careful... i have cut myself a few times already)

match up the open ends, wrong sides together and pin together then sew a straight line down

trim the excess of your seam allowance as close as you can without snipping too close

iron the seam flat to one side

next flip right sides together, iron the seam flat, pin in place, and sew another straight line down

iron your seam flat to one side

now for your bottom hem... fold over approximately 1/2 inch as straight as you can and iron flat, working your way around the skirt


fold that edge over again and iron repeating the process the whole way around

you can now sew around the whole bottom hem. i prefer a zigzag stitch for hems

to finish it off you will want to hide your knots and strings. to do this use a hand sewing needle and bring the strings from the front side to the inside just under the sewn hem line

then bring the loose strings from the inside to the same place under the sewn hem line

you can then tie off in a hidden spot.

now to hem the top and put in your elastic band. you will want to repeat the process of folding and ironing twice around the top but do not sew yet. take your elastic and measure it around where you want the skirt to sit. be sure to pull it as tight as you are going to want it (when it is loose it should be too short to go around you otherwise it will sit too loose and big at your waist) connect the ends of elastic with a zig zag stitch

next you start by securing the elastic to one part of the hemline.

you then find the spot exactly across from the first pin and stretch the elastic to pin in that spot

continue pinning halfway between each pin until you have 8 or so pins in (depends on how big or little the waistband is)

now to sew the top hem with eleastic in. this can be tricky... place your fabric where you want to begin (keep that zigzag stich so the thread won't break). i like to start with a pin just behind the foot. once you lower the foot you can stretch both sides as far as they go. hold firm and step on your pedal (slowly first, get used to how it feels) you will want to hold tight but move with the machine so the fabric still feeds evenly

you'll progress from pin to pin and will only need to concern yourself with what pins you are working between. (you will remove the pins as they approach the feeding plates... never sew over your needles and pins)

when you get to the end it should look like this...

you finish off your loose ends the same as the bottom hem
TA! DA!

(left) top hem (middle) french seam (right) bottom hem

and heres me after working in my fancy new polka dot skirt =P

i made another exactly the same yesterday except it is a bit shorter... i love the bleeding rose fabric pattern


update 4/23/12* I have since made these as well using 2 fat quarters. following the same steps though


id love to see your creations =D feel free to share pics and links to your work
What fun skirts! I love the polka dot ones the most.:)
ReplyDeletehow sweet! thanks for looking
Delete